Creating a scheduled task
QRY can run conversations, notebooks, and jobs on a schedule — once an hour, every Monday at 09:00, the first of each month, anything cron can express. The result is delivered back to a conversation, by email, or to a Telegram chat.
Scheduling isn't done from the Scheduled Tasks page itself; you create the schedule from the artifact you want to run. The Scheduled Tasks page is where you manage existing schedules.
Goal
You finish this page with a recurring task scheduled and visible in the management view.
Prerequisites
- A conversation, notebook, or job you want to run on a schedule.
- Your account's daily execution quota (system default 100/day; admin can override per user or group).
Steps
1. Trigger scheduling from the artifact
How you trigger scheduling depends on what you're scheduling:
- From a conversation — open the conversation menu (
⋯) and click Schedule. QRY suggests a schedule from the conversation context, e.g. "every Monday at 09:00, send me an updated version by email". - From a notebook — open the notebook's menu and click Schedule notebook run. See Scheduling a notebook for the date variables (
{{today}},{{this_month_start}}, …) you can use. - From a Lakeflow job — jobs have a Schedule field directly in the job editor.
- From the Telegram bot — ask in plain language: "every weekday at 8am, send me yesterday's signups here". The bot creates the task with Telegram delivery to the current chat. See the Telegram bot reference — same place for setting up conditional alerts (fire only when a condition is met, with a cooldown).
2. Define the schedule
You can describe the schedule in natural language ("every Friday at 5pm Europe/Madrid") and QRY converts it to cron, or you can write the cron expression directly. Pick a timezone — UTC is the default; pick yours if you care about delivery times.
3. Pick an output channel
- Conversation — the result is appended as a new turn in the source conversation.
- Email — the result is sent to one or more recipients as an HTML email.
- Telegram — the result is delivered to the chat that scheduled it (only available when scheduling from the Telegram bot).
4. Save
The task starts running on its next scheduled tick.
Manage existing tasks
Hover the menu (≡) and click Scheduled Tasks to see everything you've scheduled across the product.
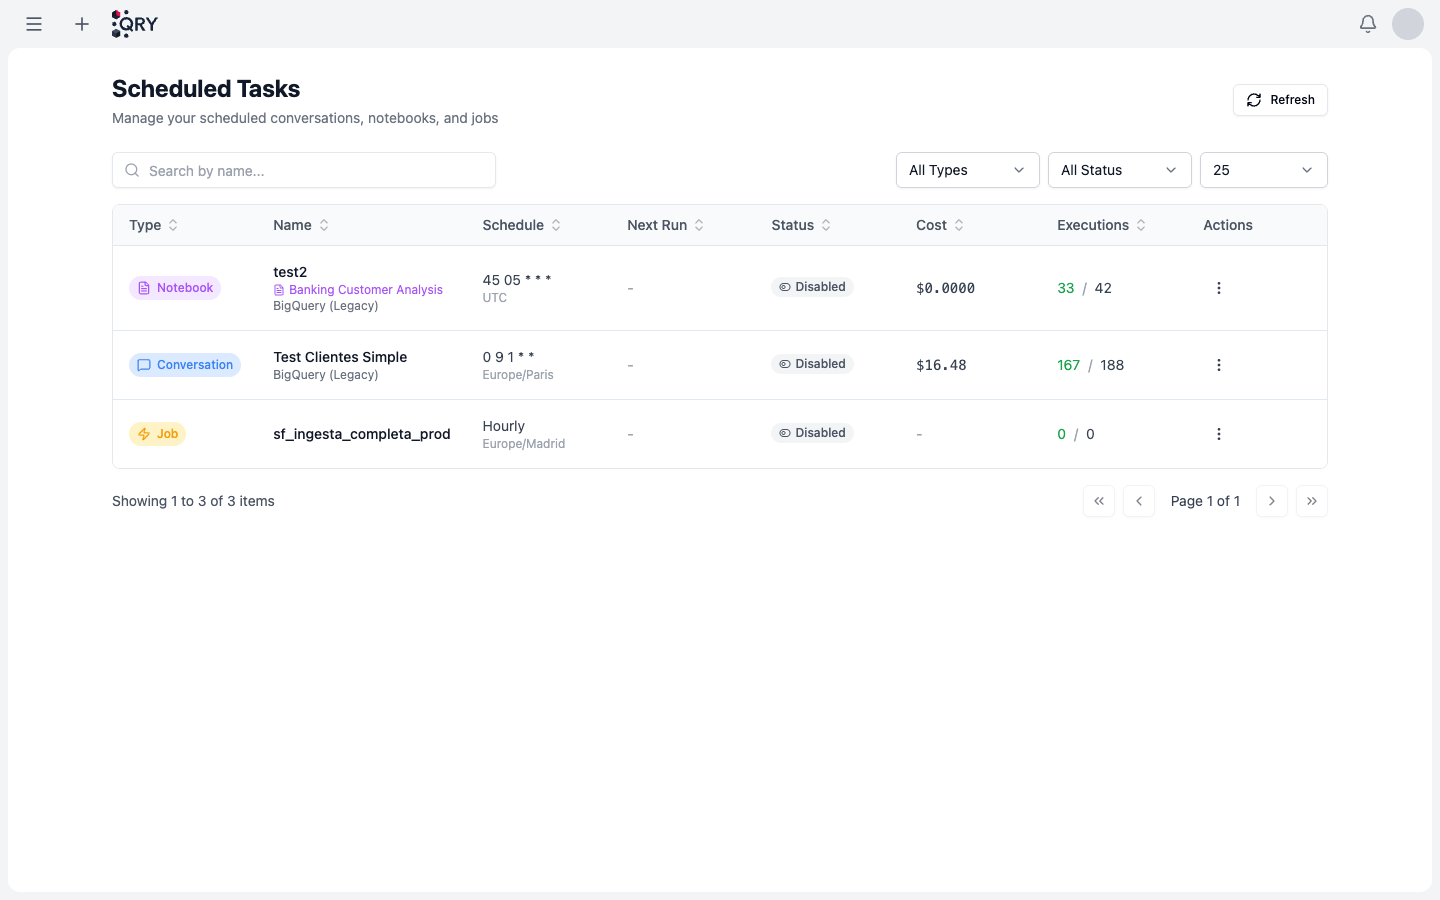
The table shows, per task: Type (Notebook / Conversation / Job), Name, Schedule (cron + timezone), Next Run, Status, Cost (rolling 30-day spend), and Executions (successes / total). The actions menu lets you pause, edit, or delete.
Result
Your task is in the management table with a green status badge and a Next Run time you can verify.
Common issues
The task is auto-disabled after a few runs. Three consecutive failures auto-disable a scheduled task. Open the task details and look at the most recent execution's error. Common causes: revoked datasource access, model rate limits, or a notebook variable that no longer resolves.
Quota exceeded. You've hit your daily execution quota. Defaults are 100/day standard, 300/day monitoring, 500/day power user — see Task Quota Templates. Ask an admin to bump your template or wait for the daily reset (UTC 00:00).
Email not delivered. Email delivery uses your tenant's SMTP. If you don't see the email in spam either, ask an admin to check the email provider config in Admin > System Settings.
Task disabled because access was revoked. Tasks execute with the scheduling user's current permissions. If your access to a referenced datasource is revoked, the next run fails and (after 3 strikes) the task is auto-disabled. This is the security model — see Scheduled Tasks.
See also
- Output channels — choosing between conversation, email, and Telegram.
- Managing your quotas — what your daily quota is and how to read the Cost column.
- Scheduling a notebook — date variables for notebook schedules.
- Telegram bot — schedule from your phone and set up conditional alerts.
- Scheduled Tasks reference — full feature reference.